Step 1: Set up your blog
This series is designed to guide you step by step through the process of learning to blog. The activities can be completed at your own pace and in any order.
The series assumes that your student blog has already been created ready to use. Refer to sign up & register blog if you don’t have a blog.
The aim of this first activity is to:
- Learn what a blog is.
- Help you log into your blog, navigate the dashboard, change your timezone settings, and change your theme.
What is a blog?
Watch the following video to learn more about blogging.
Key blogging terms to listen for while watching the video are footer, header, menus, pages, posts, comments, sidebars, theme, and widgets.
Practice what you’ve learned by completing the following crossword puzzle!
 Loading...
Log into your blog
Your blog dashboard is the administration area of your blog where you write posts, pages, manage comments, change your blog design, add widget etc.
The easiest option to log in to your blog dashboard is to use admin bar at the top of your blog.
An admin bar is located at the top of all newly created Edublogs.
Here is how you log in:
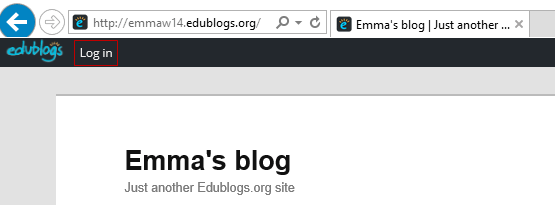
1. Go to your blog URL.
![]()
2. Click on the Log in link in your admin bar.
3. This takes you to your login page.
4. Enter your username and password then click Log In.
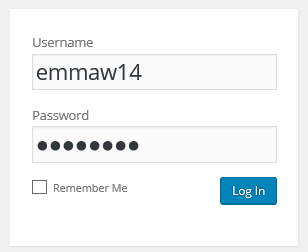
Your login details are included in the email sent when your blog was set up or are provided by your teacher.

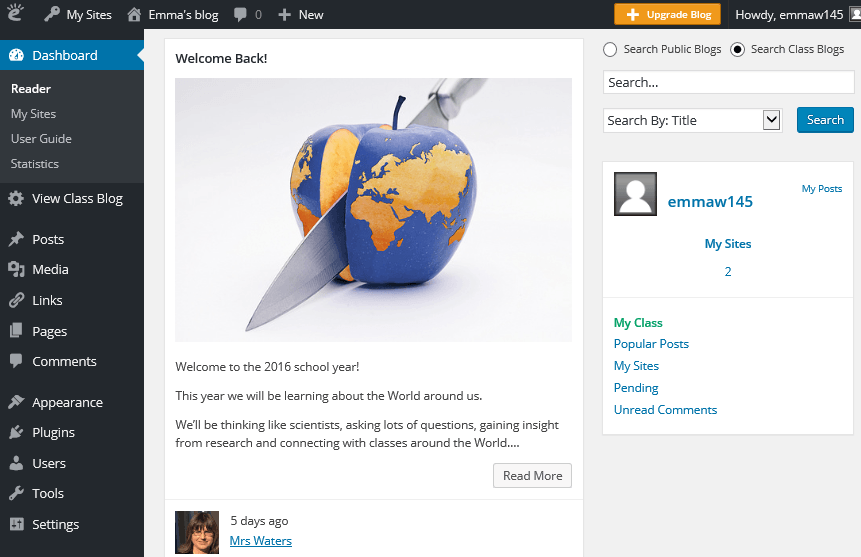
This should take you to the dashboard of your student blog. Your dashboard is made of your main navigation on the left-hand side and Reader on the right with the admin bar at the top.
The Admin bar
The admin bar at the top of your blog provides shortcuts to blog features.
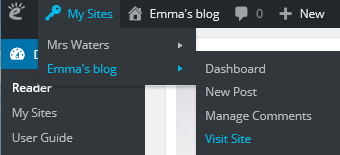
Drop down menus appear when you hover your mouse over the icons in the admin bar.
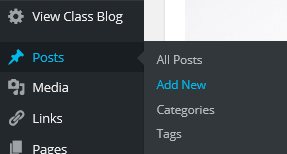
The My Sites menu, located next to the Edublogs logo, is on the left-hand side of your admin bar. The My Sites menu provides handy shortcuts to areas inside your dashboard such as the dashboard, new posts, comments and a link to your class blog (if connected to a class blog).
Reader
By default, the Reader is displayed on the right-hand side of your dashboard when you log into your account.
The reader is designed to make it easy to read and comments on posts from directly inside your dashboard. This is where you read posts from everyone in your class if all student blogs are connected using My Class.
Your navigation menu is on the left side of your Dashboard.
Hovering your mouse over a menu item displays all the sub-menu options under that item.
You can return to the dashboard area of your blog from any page within your administration panel by clicking on the Dashboard menu item at the top of your navigation menu.
Check your settings
The default timezone settings on all newly created blogs is based on London, UK time. All posts and comments are automatically time stamped as London time unless you change your timezone.
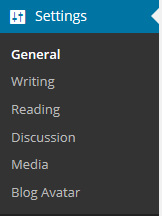
To learn how the main navigation menu works we’re going to get you to change your time zone in Settings > General to your location.
Here’s how to change your timezone:
1. Go to Settings > General
2. Select your timezone from the drop down menu option.

3. Click Save Changes.
Customize your blog theme
Your theme is what controls the look and appearance of your blog; this is what people see when they visit your blog.
This is how you give your blog its personal touch.
Like most things in life, first impressions count.
Great blog themes make good impressions on readers so that visitors are more likely to check out your blog. Overwhelming themes detract from your blog content, and make visitors less likely to read your content.
Every newly created blog normally has the same default theme. The last thing you want is to look like all the other blogs.
Customizing your blog theme is normally one of the first thing most people want to do when they first log into their blog.
Your final task is to change your blog theme and customize it.
Have a look at the following student blogs to get ideas on how other students have customized their blogs:
- simplyaubree.edublogs.org
- ethancaba14.edublogs.org
- 6jacquelineg.edublogs.org
- blog.elanco.org/forre5yz
Using the theme customizer
Customizer video
Here’s how to change your theme using the theme customizer:
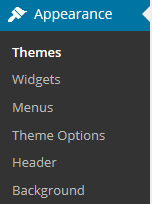
1. Go to Appearance > Themes
2. Click on ‘Live Preview‘ below the theme you want to use.
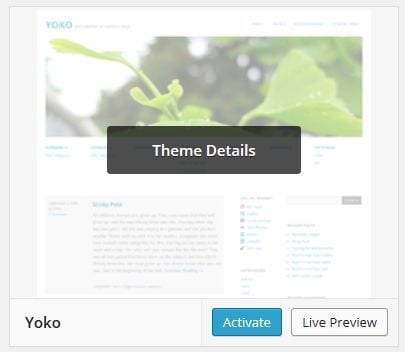
Or if you want to customize your current theme, click on ‘Customize‘ under the current theme.
3. This loads the customizer. Now all you do is work through the control panels on the left to customize the theme to preview the theme changes in real time before activating it on your blog.
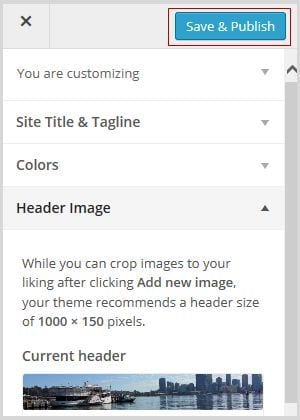
4. Once you’re happy with the changes you just click ‘Save & Publish’.
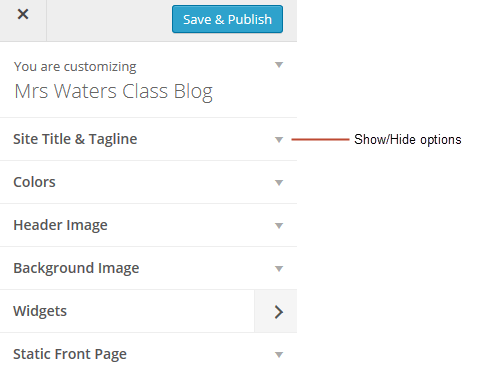
Below’s a quick summary of each customizer control panel:

Don’t change your site title without asking your teacher!
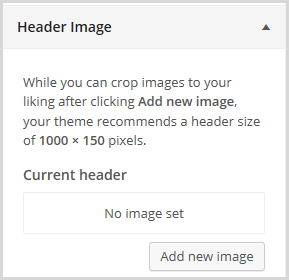
Uploading own custom header image
Almost all our themes include an option to upload your own custom image header.
A custom image header is a great way of adding your “own personal touch” to your blog.
Uploading your own custom header image is as simple as:
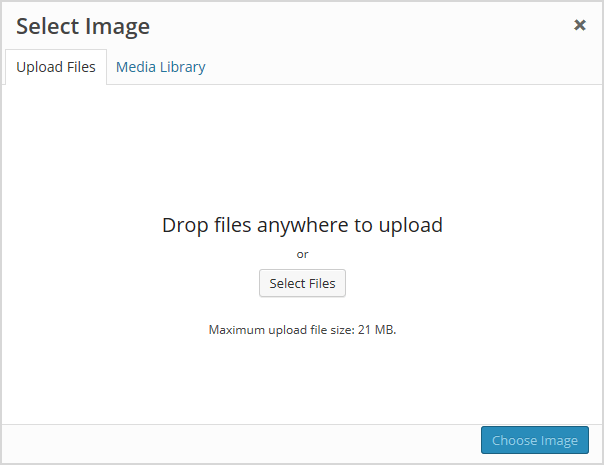
1. Click on Add new image in the header image section of the customizer.
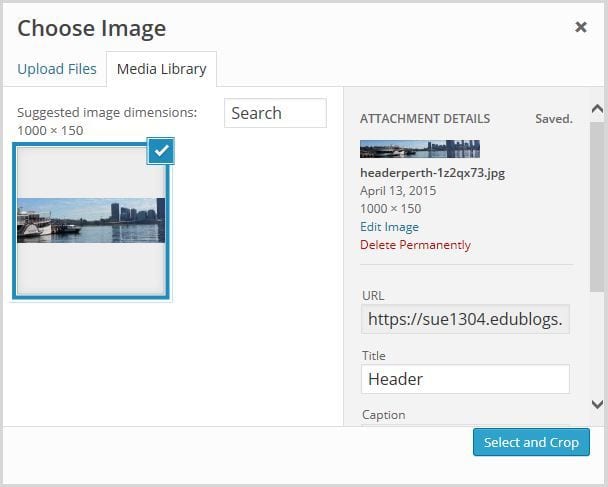
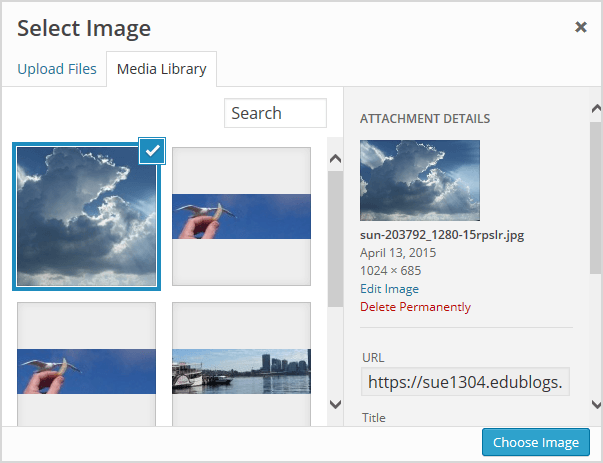
2. Choose an image from your media library or upload a new image from your computer.
- Only .jpeg, .gif, and .png files can be used for image headers.
- You’ll find a wide range of images on Pixabay that you are allowed to use for free.

3. Click on Select and Crop.
4. Click on Crop image.
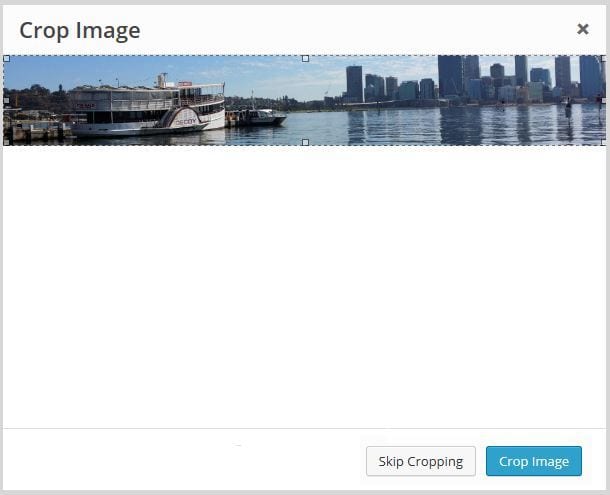
5. Your new header image should appear in your blog preview window.
6. Click Save & Publish on the Customizer to activate the new header on your blog.
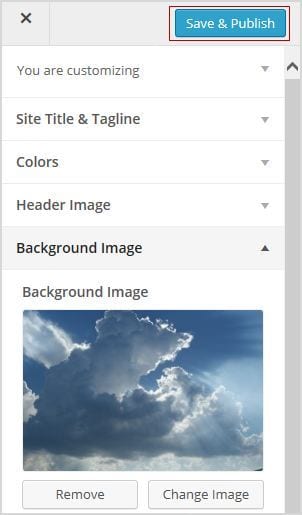
Uploading own Background Image
On many themes, much like custom header images, you can add images to your blog’s background. A background image is another great way of adding that personal touch to your blog.
Click on Background Image in the Customizer.
- If you don’t see the Background Header section in the Customizer it means the theme doesn’t support this option.

3. Click on Add new image.
4. Choose an image from your media library or upload a new image from your computer.
- Only .jpeg, .gif, and .png files can be used.
- You’ll find a wide range of images on Pixabay that you are allowed to use for free.
5. Click on Choose Image.
Once you have selected an image the background image options will appear:
- Background repeat: controls if the background image is repeated. Choices are:
- No Repeat -background image is only displayed once on the page.
- Tile – background image is tiled horizontally and vertically.
- Tile horizontally – the background image only repeats horizontally.
- Tiled vertically – the background image only repeats vertically.
- Background position: allows you to control the position of the background image. Options are left, center and right.
- Background attachment: determines if you want the image to scroll with the content or to remain ‘fixed’ in place when a reader scrolls down the page.
For best results, we recommend you use Tile, left and Scroll.
6. Your new background image should appear in your blog preview window.
7. Click Save & Publish on the Customizer to activate the new background on your blog.
Your Task
Complete the following tasks:
- Change the time zone of your blog to your location in Settings > General.
- Change your theme in Appearance > Themes and customize your theme. I recommend you select a theme that has a sidebar as you will be adding widgets to the sidebar in Step 6.
- Optional: Practice what you’ve learned about blogging terms and vocabulary by completing the blogging crossword puzzle. Use this sheet to check your answers.
- Leave a comment on this page to tell us how you went logging into your blog and changing your theme. For example, you could tell us what theme you chose and why? Or what you found easy? What aspects were hard and you would like to know more about? Remember to leave a link to your blog in your comment so we can have a look at your new blog.